One of the most common tasks that you will perform is uploading files from your computer to your website. Certain features in Ultra require that you upload files first before you can use them. The File Manager lets you do this. It also lets you manage all the files you uploaded so far.
Managing Files
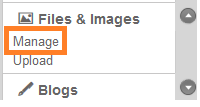
To go to the File Manager, select “File Manager” and "Manage" from the main menu.

Click a folder to expand it. This shows all the files inside that folder.

Uploading Files
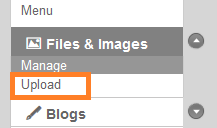
Click "Upload" to put files from your computer on your website.

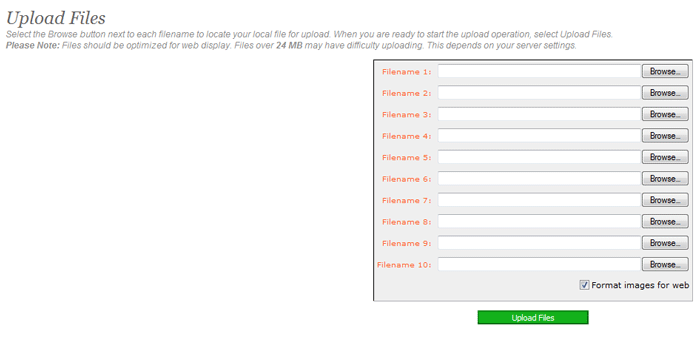
The following window will show (below). You may upload up to 10 different files at a time. All files should be optimized for web display. Ideally, an image file should be no larger than 2 Megabytes and no wider than 960 pixels.

To upload your files,
- Click the “Browse” button next to a filename area, which will open a Windows™ file selection box.
- Find the file you wish to upload and double click its filename.
- Once you have selected the files you wish to upload, click the “Upload File(s)” button. The upload process may take a few moments, depending on the speed of your internet connection as well as the number and size of the files you chose to upload.
- When the upload is complete, you will get a summary showing the filenames uploaded and their sizes. From here, you can choose to upload more files or click “Main Menu” to go back.
Note: Once files are uploaded to the system, you will have to place them on your pages or within the specific site modules that your site uses. See each module chapter for detailed explanation on the use of various file types within the modules.
